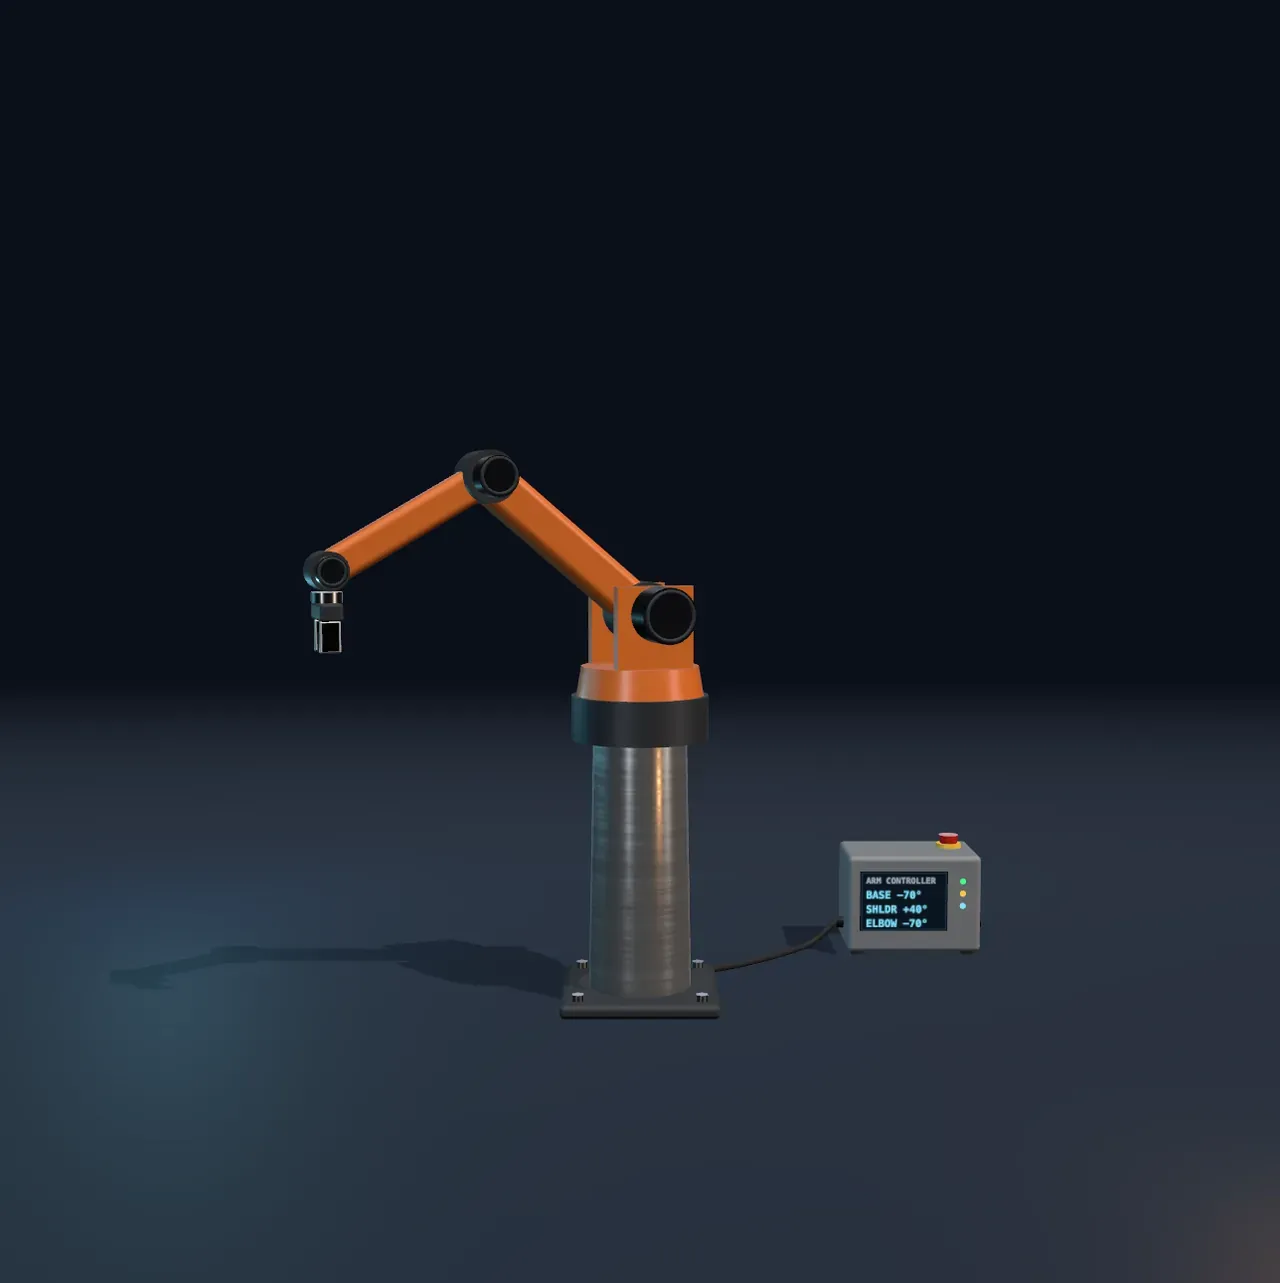
Links and joints
An industrial robot arm is a chain of rigid links joined by joints that turn. The arm in the scene has a base that turns about an upright axis, then a shoulder and an elbow that swing the arm up and down within one upright plane. A fourth joint at the wrist tilts the gripper so it always points straight down, the way it would to pick a part off a table.
Each joint is driven by its own servo motor: a motor with an encoder that reports the joint’s angle, and a small controller that keeps nudging the motor until the angle matches the one it was asked for. Every joint is a little feedback loop of its own.
From angles to a position
If you know the joint angles, finding where the gripper ends up is straightforward. Start at the shoulder and add each link’s length in the direction it points: the upper arm at the shoulder’s angle, the forearm at the shoulder’s angle plus the elbow’s bend. Then drop down to the fingertips and turn the whole plane by the base angle. This is forward kinematics, and it always has exactly one answer: one set of angles, one gripper position.
With the shoulder level and the elbow straight, the arm reaches 78 cm out from its base, the two link lengths added together.
From a position to angles
A factory job is not written as angles. It is written as places: pick the part up here, put it down there. So the controller has to run the sum backwards, from a position to the angles that reach it. This is inverse kinematics, and it is harder, because a position can have more than one answer, or none.
For the shoulder and elbow the answer comes from a triangle. Its sides are the upper arm, the forearm and the straight line from the shoulder to the wrist. Three known sides fix every angle of a triangle, so the distance to the wrist fixes how far the elbow must bend. But the triangle can be flipped over that straight line: the elbow can sit above it or below it. These two poses, elbow up and elbow down, put the gripper on exactly the same point.
Try it: choose On under Show the workspace, then move Elbow slowly towards 0°. The ghost arm in the other pose closes in on the real one, and at 0° the two become one with the gripper on the edge of the shell.
The base adds two more answers. Turn it half a turn and the arm can reach over its own back to the same point, elbow up or down again. A controller picks among the answers: one that keeps every joint within its limits, avoids obstacles, and moves the joints least from where they are now. When the ghost turns red, its pose would need the shoulder past its limit, so only one of the two is really available.
The workspace
Everywhere the gripper can reach together makes the arm’s workspace. Its outer edge is the arm stretched straight, so it is close to a sphere with a radius of the two links added together, centred on the shoulder and lowered by the gripper’s length. Near the shoulder there is a hollow, because the elbow cannot fold all the way back on itself, and the shoulder’s limits trim the shape further.
Outside the shell there is no pose at all. On its outer edge there is exactly one, with the arm straight, and the arm there cannot move any further outwards. Engineers call such poses singularities and plan paths that keep clear of them, because near one, a small step of the gripper needs a large, fast swing of the joints.
What this model leaves out
The arm jumps straight to each pose; a real controller plans a smooth path and limits how fast each joint speeds up. It does not check whether the arm would strike its own pedestal or the floor. The links have no weight and the motors no torque limit, so every pose inside the workspace counts as reachable even if a real motor could not hold it there. Real industrial arms have six joints, so they can also choose how the gripper is turned and tilted; this one has three, plus a wrist that only keeps the gripper pointing down. The workspace’s outline is traced on a grid of 1 centimetre squares.